Tuesday, January 31, 2012

Guessing Game - Mini Giveaway!!

In the latest post I wrote about this little project I had organizing all my polishes. Did I mention I counted them, too?

Well, how many were there? You tell me!!!! It's time for a guessing game - and with prizes!
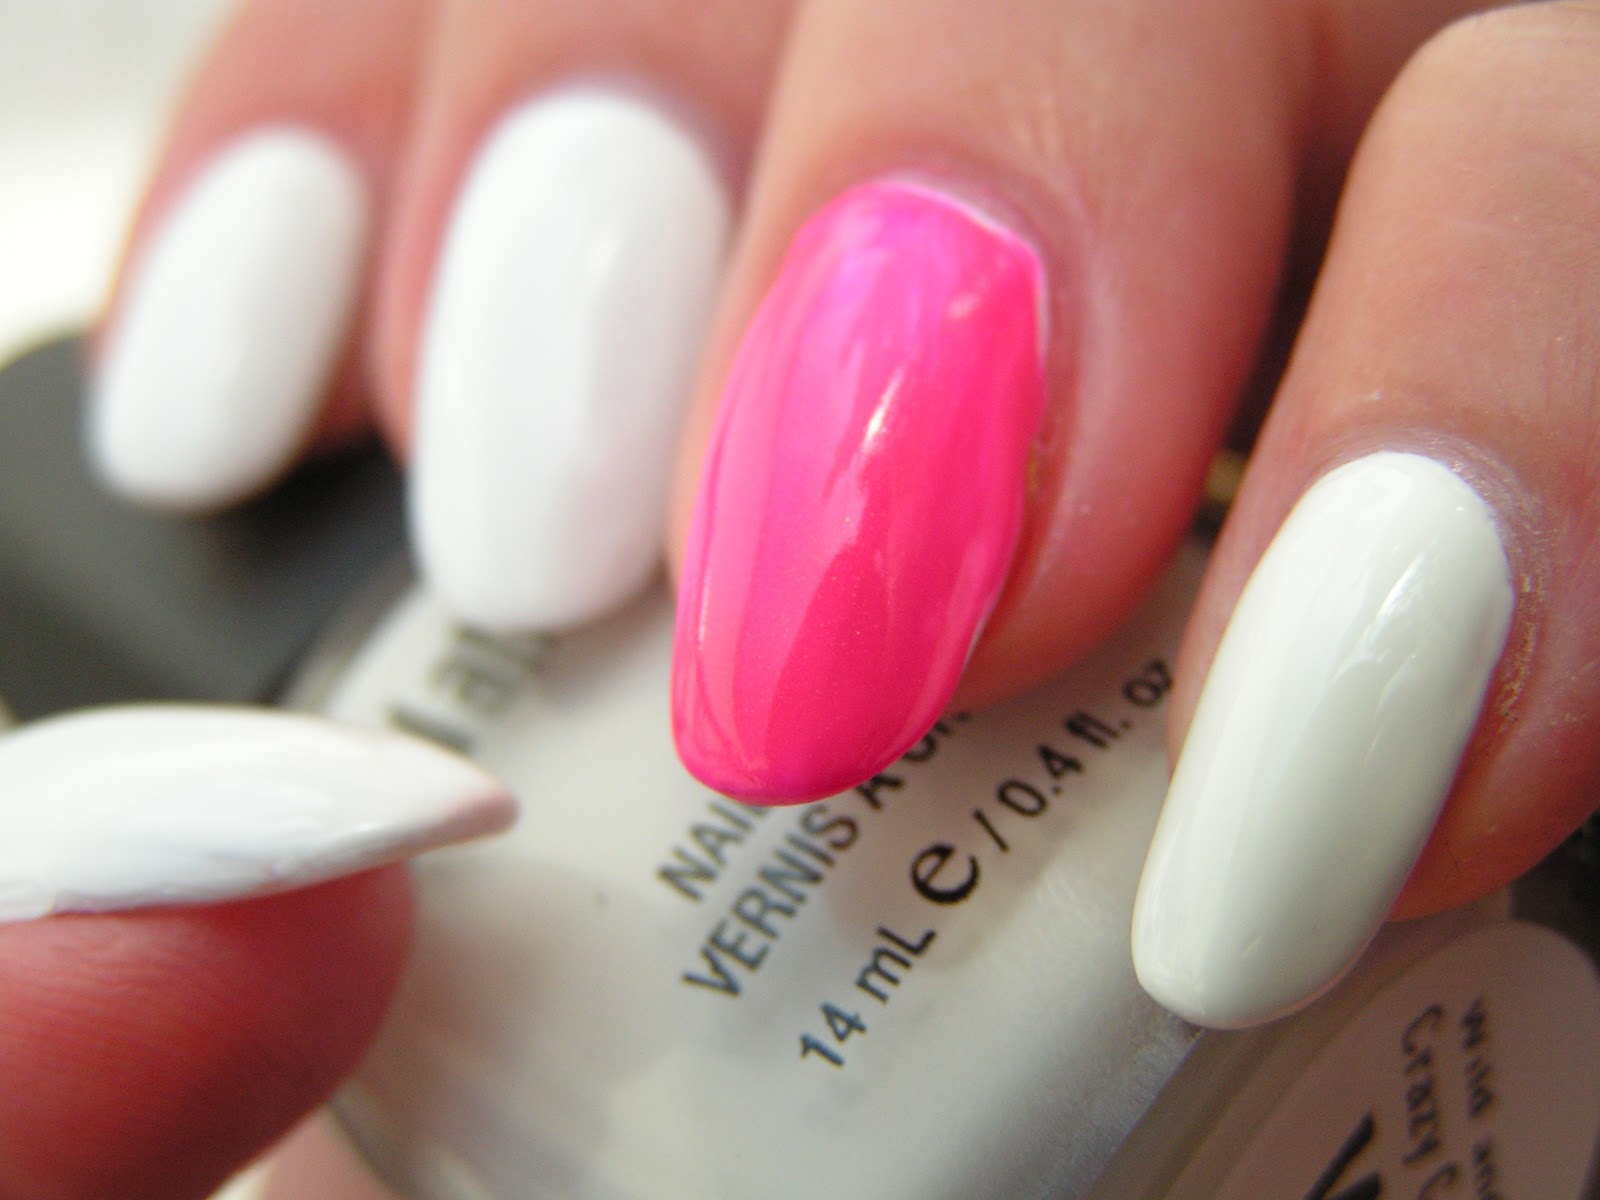
The pics in this post are from the day I counted my swatchsicles. Feel free to try to count yourself.. :)

The prizes are:

1) Set of silver base coat, neon pink crackle polish and clear top coat, 3 sheets of nail art stickers, set of 6 glitters/beads/glitter figures.
The winner of this prize is the one whose guess is the closest. If there are more than one closest guesses, the winner will be drawn by lot. This prize will only be given if the closest guess is not more than 10 per cent away from the correct answer. So think hard!! There are some cute bows seeking a new home...

2) Set of four neon mini polishes, wheel of rhinestones.
 The winner of this prize is drawn (using random.org) from all CFG followers participating in this guessing game, regardless what they've guessed. New followers are welcome! And what's more, you'll get two extra entries if you post this guessing game on your blog (sidebar or dedicated post)  Snatch these pink bow shaped rhinestones to your stash!

This is not a real big giveaway you see in other awesome blogs. I just wanted to give all my polish friends a chance to have some raffle fun here in my blog and to thank all of you who follow me via GFC. I'm so happy to have you as my first followers!

The rules are simple:
use the form below and
1) guess how many polishes there are in my swatchbox
2) give your name/alias
3) give your email
(if you're a GFC follower, tick yes when asked to!)
(if you've posted this giveaway on our blog, say so! It's two more entries!)
I'll be more than happy to receive comments on this post, but entries left in the comments section will not be included in the raffle.

This guessing game is now closed. Thanks to all who threw in their guess!!

Monday, January 30, 2012

Polish Therapy

From the beginning of the year I've had so much going on, that I felt I had to get something else to think than my actual life. Or, rather, something that does not involve much thinking.. I love organizing things (I'm just not good at keeping things organized, but there's a difference), and what's better than combining organizing with nail polish? Nothing!
The original idea is from who-knows-where, but for me it came from Nailspotting via Lacky Nails. Thank you so much for the idea, girls! This was the best form of therapy I've tried out so far! Learning from their experiences, I used coffee stirrer sticks ordered from Amazon, nail wheels from eBay, white water-soluble glue and a permanent cd-marker.
The goal was to get all my polishes painted on false nails (which I cut apart from a nail wheel), glue them on a wooden coffee stirrer stick with the name of the polish on, organize those "swatchsicles" by colour and - hey presto - to be able to see, say, all my teal polishes at a glance when planning a buy or a mani, or to find dupes!
As opposed to just painting the polishes on nail wheels, the sticks are easy to move around for comparisons, have the name of the polish written directly on them and make a great tabletop deco in a jar! Or a cool centerpiece for a dinner with all of your polish pals.. (Or not.. tastes may differ...) And, you can always re-organize them or add, say, one more baby pink glitter among the others without having to start a new wheel. AND you can easily count them! How is that so important, then? Well, just wait for my next post tomorrow...!! I've got a surprise for you...

Wednesday, January 25, 2012

Perfect Peacock

This is a mani inspired by my recent buy of some polishes from the Color Club Foiled collection.
I drooled upon the swatches of Perfect Mol-ten, and wasn't disappointed when I got the bottle in my hands and the polish on my nails. This is two coats of pure perfection.
I wanted to try out whole nail stamping, though I realized my nails must be far longer than the stamp. I tried to pick a pattern where the size difference would not be too visible, and found the eye/peacock feather print on the BM 212.  For stamping I picked Color Club Voodoo You Do, which is by far my favourite polish from the Bohemian collection and one of my all-time favourites - and for a reason.
After stamping I just added some quick dots with Color Club Hot Like Lava and Revlon Top Speed Ocean. Suprised how well the lonely Revlon fits in with all the Color Clubs. And it's not even a foil!
I was about to put a hyphen into the post title, like in Perfect Mol-ten, but read it once again and decided not to.. :) I'm just going to behave and show you the polishes.

Sunday, January 22, 2012

Minaj My Way

As you "might" know, OPI recently released the Nicki Minaj collection. Well, I wasn't too inspired by the colours, but after reading about the collection a gazillion times I just had to find out who this girl is. So I went to Youtube, typed "Super Bass" into the search field and BOOM BADOOM was instantly inspired to do some nail art.
This mani is dedicated to the neon pink/white one-piece she is wearing in the beginning of the video. The outfit (and the girl inside it) is so outrageously cool that I spent a few moments gathering my jaw from the floor. Watch the vid here if you don't believe me! (And yes, it's tawdry just like me...)
My pick for the neon pink polish was, as so often, Sinful Colors Cream Pink. If you're looking for great value, look no further: for under 2 dollars (depends on where you buy, OFC) you get a true neon pink polish that applies smoothly and is even good for stamping.
I used three coats of Wild and Crazy Montana and painted the ring fingers with one coat of CP after that. Stamping was made with BM 215, CP and Konad special white.
Sadly, I didn't have anythig neon yellow to put on my nails (as seen in the accessories of miss Minaj's outfit), so I had to resort to some neon green stars. The only positive thing about the colour in these pics is, that the green stars look like they were yellow! Otherwise, these pics don't show the real bright neon shine this mani has. If anyone has tips for photographing neon nails, please share!
But why all these pics?? Because I LOOOOOVE this mani, that's why! I would have wanted to paint my nails -or anyone's nails- again today, but I didn't want to take this off. Where have all my nail buddies gone? All my little bottles are now in perfect order just waiting for you...

Thursday, January 19, 2012

My Untrieds

I've done some inventory of my polishes lately. You will see the results soon, but today I just want to show you some new polishes and my older untried ones.

I store my untrieds in a black canvas bag. Every time I don't have a clear idea for a mani, I just rummage through the bag, pick a polish and go with it. I think I've currently got some 20+ polishes there waiting for me, and I'm hoping to get that closer to 10 in the near future
 I noticed there is an overrepresentation of purple polishes in my untrieds. Have I been in a purple mood when shopping, or have I just neglected the purple ones when choosing which ones to use? I wonder...
I wouldn't know what to do if the bag was empty. I don't think it ever will be, though. There's so many enticing new collections coming out all the time. By the way, if you see a polish in there you'd like to see swatched, just drop me a line in the comments!
The newest addition to this crowd are a few Color Club foils and China Glaze Snowglobe I ordered from eBay. After taking these pics I've bought some Essence and Catrice polishes (they're cheapos, so they don't really count, do they..), so that's how it grows..

Monday, January 16, 2012

Rainbow in the Winter Sky

This mani is from my vault, actually from my latest trip to the US. I decided to show them to you now, because they are more than well in line with the recent official glitter weeks I've been having in this blog..
This is two coats of Finger Paints Winter Sky, which did glide on smoothly but stained like hell, like you've learned from other blogs..On the Winter Sky on my ring finger I painted a V-shaped french tip with OPI I Eat Mainely Lobster and added one coat of OPI Rainbow Connection. 
I freehanded the french, because I didn't have any scotch tape at hand. When looking back, I could at least have gotten out of bed and at the table to do these. Wobble wobble...Well, there's nothing that can't be masked by a coat of happy glitter!
Back then I sported that pointy style. I miss those days! And at the same time I'm happy with how my nails are just now. It's a shame you can't switch between nail shapes and lenghts at the same pace you can change your polish..

Saturday, January 14, 2012

Facets of Fuchsia + Rhinestone Overload

I honestly tried to figure out a new way to show you this polish - a real must-have from the 2011 releases: Revlon Facets of Fuchsia.
But.. Things didn't go quite as planned. Layering over purple just made the glitters disappear, over light grey it looked like the dirty slush on the street (would have been better without the black jelly base in the FoF), and over pink it was just a mess (the glitters looked like some horrible disease had struck my nails).
As the last resort I tried to layer it over, not a regular black polish or black jelly, but a shimmering blackened grey polish. So I painted two coats of Essence Vampire's love Hunt Me If You Can as the base. You can see it on its own on my ring finger. Sadly, I don't think it makes much difference under the FoF...
So I left the ring fingers plain and tried to figure out what kind of an accent nail to make. I went through my stash of stickers, decals, stamping plates and whatnot, but finally settled down with my box of rhinestones. One thing led to another and I ended up with loading the accent nail with square rhinestones. Literally. That finger feels a lot heavier than the rest.
 I used a not-so-fast-drying topcoat under the rhinestones, and a coat of Seche Vite over them. And: I love the result in all its blingyness!!! (Is that a word? Propably not..) I know people who would, too, and I know people who'd think I'd totally gone too far. But hey; It's me who's carrying these around!
And here are the polishes:
By the way, I did get a few big silver hex glitters with my FoF. With the first one I thought it had somehow come onto my nail from my desk, but when I look at the bottle real well I see some of those sneaky things floting around in there, too. Has anyone else had this "problem"? Or are the silver glitters meant to be there?

Thursday, January 12, 2012

Green Thumb (and Pointer and Pinky and...)

This post contains the "morning after" -pics from the removal of my spot-on green and pink leopard mani. If you're into horror movies or stories, just read along...
These are my nails after removing the polish. I used Sally Hansen Complete Salon Manicure Grass Slipper and I Pink I Can. As you can see, every other nail - the ones that were painted green - is still yellow-green in colour. There are even some green patches on the other nails, where the green polish was sponged. I don't know if they looked more disgusting or terrifying..
My first thought was just "Oh my, I need more nail polish remover". After that I tried almost everything including whitening toothpaste, but in the end I just had to grab a file. And mind you, a gentle top-layer-only filing wouldn't do, but I had to file off the gel almost until my natural nails. Filing is never my favourite sport, but this time it was awful - the filing dust was green, the file was green, the whole place was covered with the yellow-green stuff..
 How is this possible!? Has anyone else experienced this before, or is it just the combination of this specific bottle and my nails? I feel they should put a warning label on these bottles, if this is what happens often!  After some serious filing I finally got rid of the colour, but I had to gel and cure affected nails again. :(
As said before, I've got gel nails, so this might not be what you natural ladies go through. Especially as only the gel was stained, not my cuticles or the natural nail nearest the cuticle. But in any case, think twice before applying Grass Slipper on any artificial nails! Beware of the Bad Grass!!

Sunday, January 8, 2012

Spot-On!


This is definitely the most fun-filled mani of the year this far! I needed a flashy animal print, and this leopard design was definitely spot-on.
I started out with two untried polishes from the Sally Hansen Complete Salon Manicure line: Grass Slipper and I Pink I Can. Two coats of the green was enough, but in some places the pink was still patchy, so I added one more coat.
Added some random sponging with a piece of a kitchen sponge..
and stamped with Konad Black and m78. This is actually the first time I use this pattern, believe it or not.
 Lately I've used a lot of other than Konad polishes for stamping, and I was reminded once again why there are special stamping polishes. No swear words this time, just a bit more cleanup.
Don't you love the result?! I do!!! (except the pink sponged on green tends to turn more towards orange, but that's not a big deal) As if this wasn't flashy enough, I added a coat of Essence Circus Confetti. And became a very happy person. Sometimes, it's just that simple!
And here are the polishes - I wish I had nothing bad to say about them, but just wait until the next post, where I am ready to throw the green one straight to the bin and worse...

Saturday, January 7, 2012

Some Must Have It Haute

When browsing through my big black bag of untrieds I saw quite a few glitter polishes there. And of course I picked up the one with the most dazzle and bling: China Glaze Some Like it Haute. I prepped my nails with two coats of Essence Multidimension Must-Have, a dark grey with slight just visible shimmer, and brushed two coats of China Glaze SLiH on the top.


Some Like it Haute in not perhaps at its most dazzling in this previous pic, but take a look at the blurry bottle pic next:
 Pure awesomesauce in the sunlight!!

I wanted to add something which would not cover up the bling. Luckily I found in my stash a sister polish to SLiH: Sally Hansen Gem crush Lady Luck. I sponged it on the ring finger and to the tips of the other nails.
I can't help adding more pics.. If the SLiH was a topcoat eater, this combo was a devouring monster. I stopped counting after two coats of regular topcoat and one of Seche Vite.
That green light in the next pic is not an UFO, it's just a glitter particle gone insane.. And, believe me, the constant glittering kept me distracted the whole two days I wore this mani.
And here are the bottles. Aren't they just like a tiny happy family? Only the baby in the middle will grow it's glitters later...
If you liked this, rest assured, there's going to be more glitter in the next few posts...