Thursday, October 27, 2011

Day 11: Polka Dots

I dreaded this challenge beforehand (well, not as much as the water marble, but anyways). I'm not any kind of a dotting wizard, and my experiments with dotting tools usually produce more inappropriate words than nail art. Well, here's my try.
My real inspiration for dotting is the ever-awesome mother-of-all-dots blog Another Bottle of Polish?! There are just too many creative dotty designs with french tips, with different-sized spots, dotty lines, and everything you could and could not imagine.
There was a real autumn weather for a change, windy and rainy. Suddenly the mud colours in China Glaze Metro collection seemed enticing. I decided to grab the gray creme Concrete Catwalk. I liked the colour, dramatically dark but a subtle gray at the same time, and wore it alone for a day.
I started dotting with China Glaze Thistle from my previously untrieds (the pic above) and went on with Essence Colour&go Frozen Queen. I had hoped the dotting polishes would stand out more from each other, but now it's difficult to even see that there are two different colours on each dot. But the good thing is, with the nail art there's always the next time, and quite near too!
Dotting was actually fun - the most difficult part was to stop in time. (I'm not sure if I managed it this time. The accent nail is pretty crowded.) You'll definitely be seeing more dots in this blog!
And here are the polishes I used (plus some Seche):

Tuesday, October 25, 2011

Day 10: Teenage Gradient

I was itching to try out the two OPI DS polishes I bought, and chose the silver holo DS Coronation.  Either it wasn't sunny enough outside, or it would have needed some more layers, or I should have layered it on the top of another polish, but for me the colour was just a "meh" experience. Thus no pics of Coronation on its own.
But then I decided to sponge on some OPI We'll Always Have Paris Suede and paint a layer of OPI Teenage Dream on the top of it all. Et voilà! There's a fun, glittery gradient mani pour vous!
This is almost an all-OPI mani, and it made me remember why I love OPI polishes so much: ultimate control with the brush, opacity in two layers or less, dreamlike formula and application, plus funtionally beautiful bottles. I have to admit I like anything that's pink and glittery, but I fell in love with Teenage Dream. (Until the time for removal...) Just look at the holo glitters in the bottle! I'll have to use it again soon!
And here are the polishes. Topcoat was Orly Sec'n Dry (I believe Teenage Dream needed two coats of it), boosted with some LCN Quick Dry Oil. The bottles go together oh-so-well!

Sunday, October 23, 2011

Day 9: Under the Rainbow

The day nine of the challenge asked for rainbow nails. I had thought about just stamping rainbows on my nails from BM201 (I was on a lazy mood..). But going through my stash and spotting some untried Essence polishes inspired me and here we are: rainbow skittle!
I wanted to do it with all cremes, but had to cheat on my left thumb. I simply don't own a suitable yellow-green creme. This means shopping..
I almost included a pink polish. Even after I checked the actual colours of the rainbow from Wikipedia, I found it hard to resist the pink - my favourite colour on my nails. But if I've learned something in the Uni, it's: "You Don't Tamper With Scientific Facts", so I left the pink out. (How is it possible, by the way, that it could not be included, if rainbow is the continuous spectrum of all visible colours?  Is pink somehow between red and violet, the extreme ends of the spectrum and the top and bottom of a rainbow, and thus is not seen?)
The polishes I used (from left to right) are:
Revlon Revlon red, Essence Colour&go Wake Up!, China Glaze Papaya Punch, China Glaze Electric Pineapple, China Glaze Cha-cha-cha, Essence Colour&go Trust in Fashion, Essence Nail art twins Bella, Essence Nail art twins Bonnie, China Glaze First Mate AND Essence Nail art twins Thelma.

Phew! That was a lot of polishes!
All are two coats except Electric Pineapple, First Mate and Thelma, which needed the third one.
From all of these, the colour I'd definitely wear as a whole mani asap is the bright orange-red Wake Up! I'm trying to figure out the way to use it in one of the forecoming challenges...

Thursday, October 20, 2011

Day 8: Copper Glitters, Too!

The challenge of Day 8 was metallic nails. I was inspired by some new polishes in the Essence Golour&go line: Just in Case (Brown), Be Optimistic (Copper) and Make it Golden (Gold glitter). All that glitters is not gold - copper glitters, too!
I painted every other nail with Just in Case and Be Optimistic, and freehanded a (wobbly) french with the contrasting colour. The right ring finger was left plain and topped with a coat of Make it Golden. Simple but fun!
I'm quite happy with how the colours play together. They remind me of some copper cooking pots and other kitchen decorations in estilo rustico. Bright copper kettles and warm woolen mittens... eugh.
 And here are the polishes. I really like the new Essence glitters: this golden one, Blue Addicted, and Time for Romance, which is a burgundy shade. They have just the right proportions of fine microglitter and larger hex glitters in a matching jelly base. I can't wait my nails to grow just a little bit longer - I'm planning to do a major blue mani which will look absolutely stunning on long, sharpish nails. Just wait and see. (Warning: Some disappointment may occur.)

Monday, October 17, 2011

Day 7: Black and White Era

I've had these pics in my archive for quite some time, from since I started to think about doing this challenge. (Not literally from the black and white photography era, but almost...) Now, when I look at these, I can at least be happy that my skills in both photography and nail art have developped somewhat...
This is two coats (I think) of Essence Colour&go Fabuless as the base.  I really like to use this as my black polish, because it's not just your average black. It has tiny silvery shimmer in it, which makes the overall tone lean to graffiti.
I taped my nails diagonally and stamped with Konad special white polish and BM224. Starting from the pinky, I made the stamped area slightly bigger in each nail so that the thumbnail was stamped all over. I like that effect - have to repeat it with some other pattern.
The line is drawn with Essence Nail Art pen in Silver White.  I definitely should have used the Konad polish for the line also, now the lines stand out as if they were of totally differet colour. Well, you paint - you learn.
I made this mani to match one of my comfort dresses - that's the black and white fabric on the background. The dress itself is so shabby I only use it at home anymore. It's a shame that, eventually, that's the destiny of your favourite garments...

Friday, October 14, 2011

Day 6: Violets are White

Today's design is shamelessly copied from the ever-awesome Emily's Nail Files. See Emily's perfect design here!! And if you like her blog, go vote her in the Cosmopolitan Blog Awards - link in Emily's blog.
Now onto my take on the subject..
Planning my violet nails started with finding out what does "violet" actually mean. It seems that it's generally meant to be a blue-toned purple, withwavelength of 380-450nm and frequency of 800-715THz. See more here. Thus there are a lot of different violets out there, but a true violet is not just any purple and it's cousin, noo-o.

I chose my violet to be OPI Planks a Lot from the Pirates of the Caribbean collection. And I had to add an accent nail of OPI Mermaid's Tears from the same collection and my recent haul.
Planks a Lot took three layers to be opaque, and there still was some lighter patches. I wonder, was it because I only have the mini and the brush is not so perfect in them? Mermaid's Tears was almost opaque with one coat. I loved everything about it, the formula, brush, colour, everything. I'll have to wear it as a whole mani some day..

I dabbed some NfuOh 50 to the tips. For the stamping I used Konad Special polish in pearl white and m57. I tidied some of the flowers up with Essence Nail art pen in silver white. For the vines&leaves I tried to use the same OPI polishes as for the base colours, but Planks a Lot was too thin for it. So I picked up a purple Konad Princess special polish.
When I compared my version with Emily's, I felt that my own needed some more glitter. (I also felt like a complete freehand noob with two left hands.) So I slabbed on some Essence Nail art twins Edward, which is a clear base with holo microglitter, medium blue and green round glitter and large green glitter rectangles.
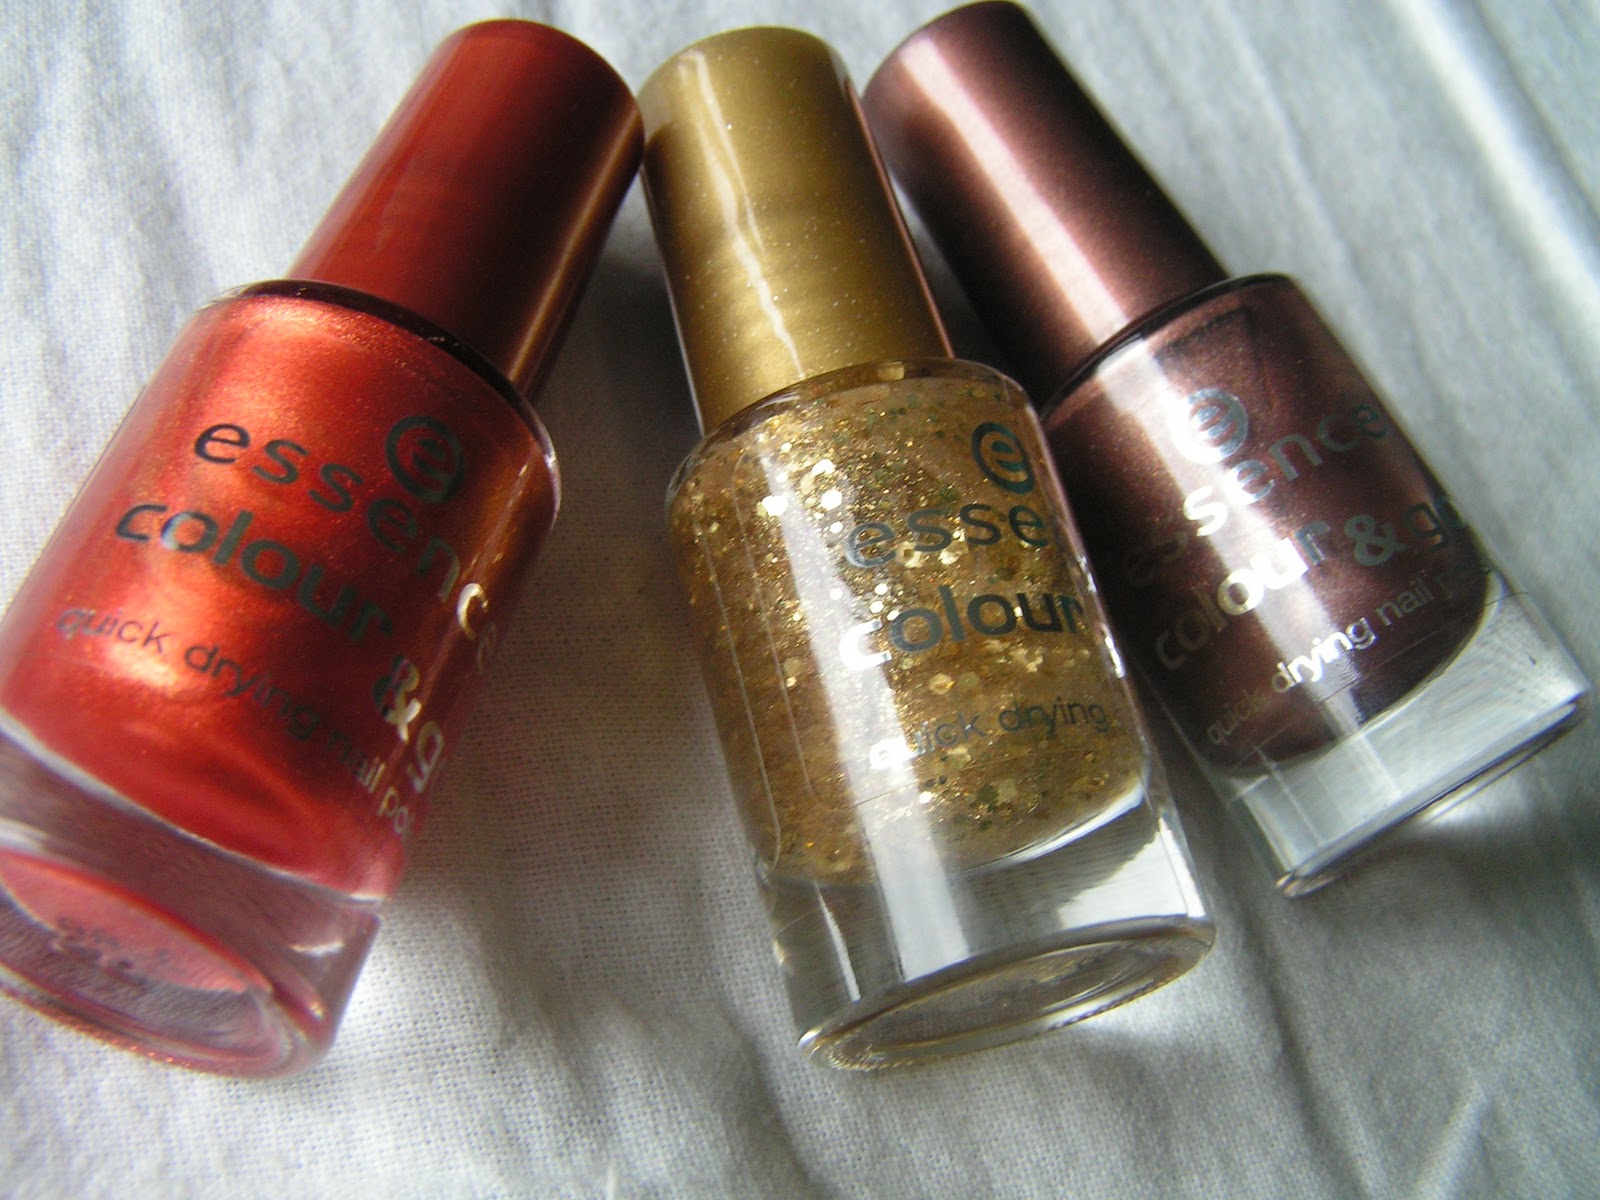
 And finally, here are all the polishes I used. I absolutely love the Nfu'Oh bottle with the corset cap!

By the way, I changed my template and added a Wishlist&swaps tab. Any thoughts? Please vote in the poll in the sidebar!

Saturday, October 8, 2011

Day 5: Blue Moon

This is my blue mani. Some step-by-step pics and random blabbing follows.
I just recently swithced to doing my own gel nails instead of going into a salon, partly to save money and partly for the challenge in it. So here are my nails as naked as they come, with their brand new gel covering made by ME! I think this is the third time I did the whole set myself, and boy I've still got a lot to learn! But I'm not too worried to get them absolutely perfect right now. I tried to file them back into the almond shape that I feel at home in, but didn't completely succeed. I think next time I'll try to leave on more length and file the tips still a bit sharper... I'll have to be careful then not to hurt anyone with them, though.. :)
I started the mani with two coats of Essence Nightline, which is part of their new Urban Messages LE. I read that the polish I had in mind, China Glaze Blue Iguana, is quite sheer, so I decided to give it a good deep-blue base. The pic is pre-cleanup, because I knew I would be adding more polish. Look at the cool teal-y shimmer!
And yes, Blue Iguana looked stunning on this base! And I needed only one coat. I gave the accent fingers one additional coat of China Glaze Skyscraper to make them stand out from the crowd.
Still for the accent nails, I dotted on some glitter from Essence Nail Art Twins Julia and added silvery crescents. Here's an off-focus image to give you an idea of the glitter & glimmer.
One coat of SV (two to the accent nails) and ready to go! Here are the polishes I used.
By the way, have you noticed the similarities between the Essence Urban Messages collection and the China Glaze Metro collection? Have a look at the font in the Downtown set and the Essence bottle. Definitely on the same trend! And the fun part is, both collections have a polish called Skyscraper! Just a coincidence?? The China Glaze one is a blue jelly with silver glitter, while the Essence one is a dusty white-gray creme with blue shimmer. I'll have to get these two polishes to meet on my nails some day!

Thursday, October 6, 2011

Day 4: Two, Green, Cha-cha-cha..

(Those of you who've ever danced Cha cha will wonder about the title less than those who haven't.)

For today's green nails I decided to give one of my new China Glaze polishes a go. Cha Cha Cha seemed to cover well with two coats. Only in the macro pics I notice that I could have been more careful with the tips. Well, who really, REALLY cares?
I decided to add some stickers I've intended to use a million times, but always wanted to save them for later. Seriously, SAVING nail art stickers, instead of using them?!? (Yes, I annoy myself, too, with my saving mania - and nothing can annoy me half as much as I do myself)
  
I felt the stickers didn't stand out enough, so I added a few rhinestones (bought from Born Pretty Store I think) and attached them with topcoat as I always do. The upper pic is my right hand, by the way, and the lower my left hand you're used to seeing.
Here's all the stuff I used. Oh my, what  a waste of nail art stickers this mani was!! I spent almost one sixth of the sticker sheet!! :D :D
I made a haul from the Nail etc webshop recently and gave a loving home to the China Glaze Island Escape collection and the Metro Downtown set, and a few OPI's (I Lily Love You, Mermaid's Tears, Love is a Racket and Pros and Bronze). If there's a specific polish you'd like to see me using, just leave a comment!
I also got my very first bottle of Seche Vite and I'm in looove. It dries faster and shinier than my any other topcoats, and it did wonders with the stickers. The surface after two coats of SV was so smooth even I couldn't see the outline of the stickers anymore (without the camera macro, of course).

Sunday, October 2, 2011

Day 3: Yellow Matter Custard

I decided to do my yellow nails with Rimmel Fruities Lemon Drop, which I now regret. Application was challenging; the polish was thick, pasty and chalky. This resulted to four coats and lots of words I don't normally use. The lemon scent didn't last too long either.
If I wasn't thinking of covering the tips with something else, I'd definitely have started over.  But I've wanted to do a paint drip mani for ages, and now I finally did. I used Nicole by OPI Black Cat-cha Later and a number 2 nai art brush.
BCcL is a beautiful dark brown shade with loads of burgundy shimmer. I've never used it as a whole mani, but I definitely should. It took it home from a shopping working trip to Atlanta as a part of a gift set alongside with a beautiful glass flecked red holiday polish I absolutely needed just then. (Actually I remember brushing one coat of it over an expired pink leopard mani and getting enthusiastic compliments, but that's a different story.)

Lastly, I had to include a pic of my yellow nails with a vintage stocking box (containing three pairs of authentic unused stockings!) I grabbed from the jumble sale stuff of my friend T. First I felt weird with my yellow nails (I never wear yellow), but I was OK with them after I started to think the colour as a faded vintage yellow. However I never got the Beatles' song "I Am the Walrus" out of my head: "Yellow matter custard, dripping from a dead dog's eye, Crabalocker fishwife, pornographic priestess, Boy you've been a naughty girl, you let your knickers down..." How lovely... (Did you know, by the way, that this song was banned by the BBC for these very lines?)