Showing posts with label Wild and Crazy. Show all posts

Tuesday, April 23, 2013

Tri Polish Challenge: Foaming Sea and Flip Flops

Bright summery trend continues here with the Tri Polish Challenge. The weather has been really inspiring here for that kind of manicures - plus what else could I do with three bright neon polishes :)
 The base in this manicure is China Glaze Turned Up Turquoise, except on the ring finger where I used Sinful Colors Cream Pink. Over the turquoise I did a drag marble using white (Wild and Crazy Montana) and turquoise.
 To compliment the beachy look I added some stamped flip flops with BM 309 and Konad white. To get to use all of the challenge polsihes (although it isn't required in the challenge), I coloured some of the flip flops with ChG Papaya punch.
This is one of the "new" Bundle Monster plates I hadn't used before. Why oh why?? Now that I peeled the plastic off and can really see the patterns, I want to stamp each and every one of them! I need to get my act together and use all the plates in this series soon anyway, because I've made a promise I'll only order a new set of plates when I've used all I already own at least once. Do you ever make these kinds of "promises to self"? Do they work for you?
Now let's have a look at the other participants of this challenge:


Saturday, January 12, 2013

G -Get Carried Away

Alright. Let's make it clear right from the start. This manicure is a FAIL. But I blame the polish.
I almost didn't post this one, but without this I wouldn't have gotten forward with the ABC challenge... So bear with me!
 As the base colour I used various greens (from pinky to pointer):
Revlon Beach
Lumene Summer Rain
China Glaze Cha Cha Cha
Wild and Crazy Erie,
And for the thumb two coats of Alessandro Virgin Temptation.
This was actually the fun part, getting to play with my swatchsicles!
The topper and my G-polish is China Glaze Get Carried Away (from the Cirque du Soleil collection).
I think the problem with this polish is -added to the lousy application- the black jelly base. It makes any base colour - except for black - very murky and dirty looking, especially if you have to dab over a spot more than once as I definitely did.
Over red GCA looks decent, but I still think I won't be using this too soon again. This close-up is after two coats of Seche Vite, and as you can see it's still quite bumpy. Not one of my favourites, but maybe I'll create something extra fun for the next letter, H...

Saturday, September 1, 2012

My Way at Times Square

As you know, I'm a sucker for anything New York City - related. That city is magical - if you've been there you know what I mean... So I couldn't resist when I saw the new Wild & Mild Diamond series in the store, all polishes labelled by New York districts / sigths / streets. There wasn't a "Madison Square Park", though, which was a disappointment... I had to get a few, and there's nothing to regret. Their quality, opacity and overall performance is simply great!
I chose the blue one to go first, with some golden toppings. The base here is two coats of Wild & Mild Diamond Times Square. The golden/iridescent glitter comes from Orly Sashay My Way.
Richard Wiseman, who is my second favourite professor in the world (if you can guess my favourite, I'd say you know me quite well..) concludes in his book "Rip it Up", that you can cheat yourself to be happy - at least for a moment and long enough to get some of the useful health effects of happiness. The experiments and theories behind this are abundant, but the core is: act as if you were happy - like smile, laugh or (ahem) paint your nails bright - and your brain thinks you are. Well, I certainly fooled my brain with this mani.
For those of you who dislike long and pointy nails, don't fret - this is the last you see them before I go for a chop. And for those of you who really enjoyed these, don't fret - in a few weeks these'll be long and pointy again!


Monday, April 23, 2012

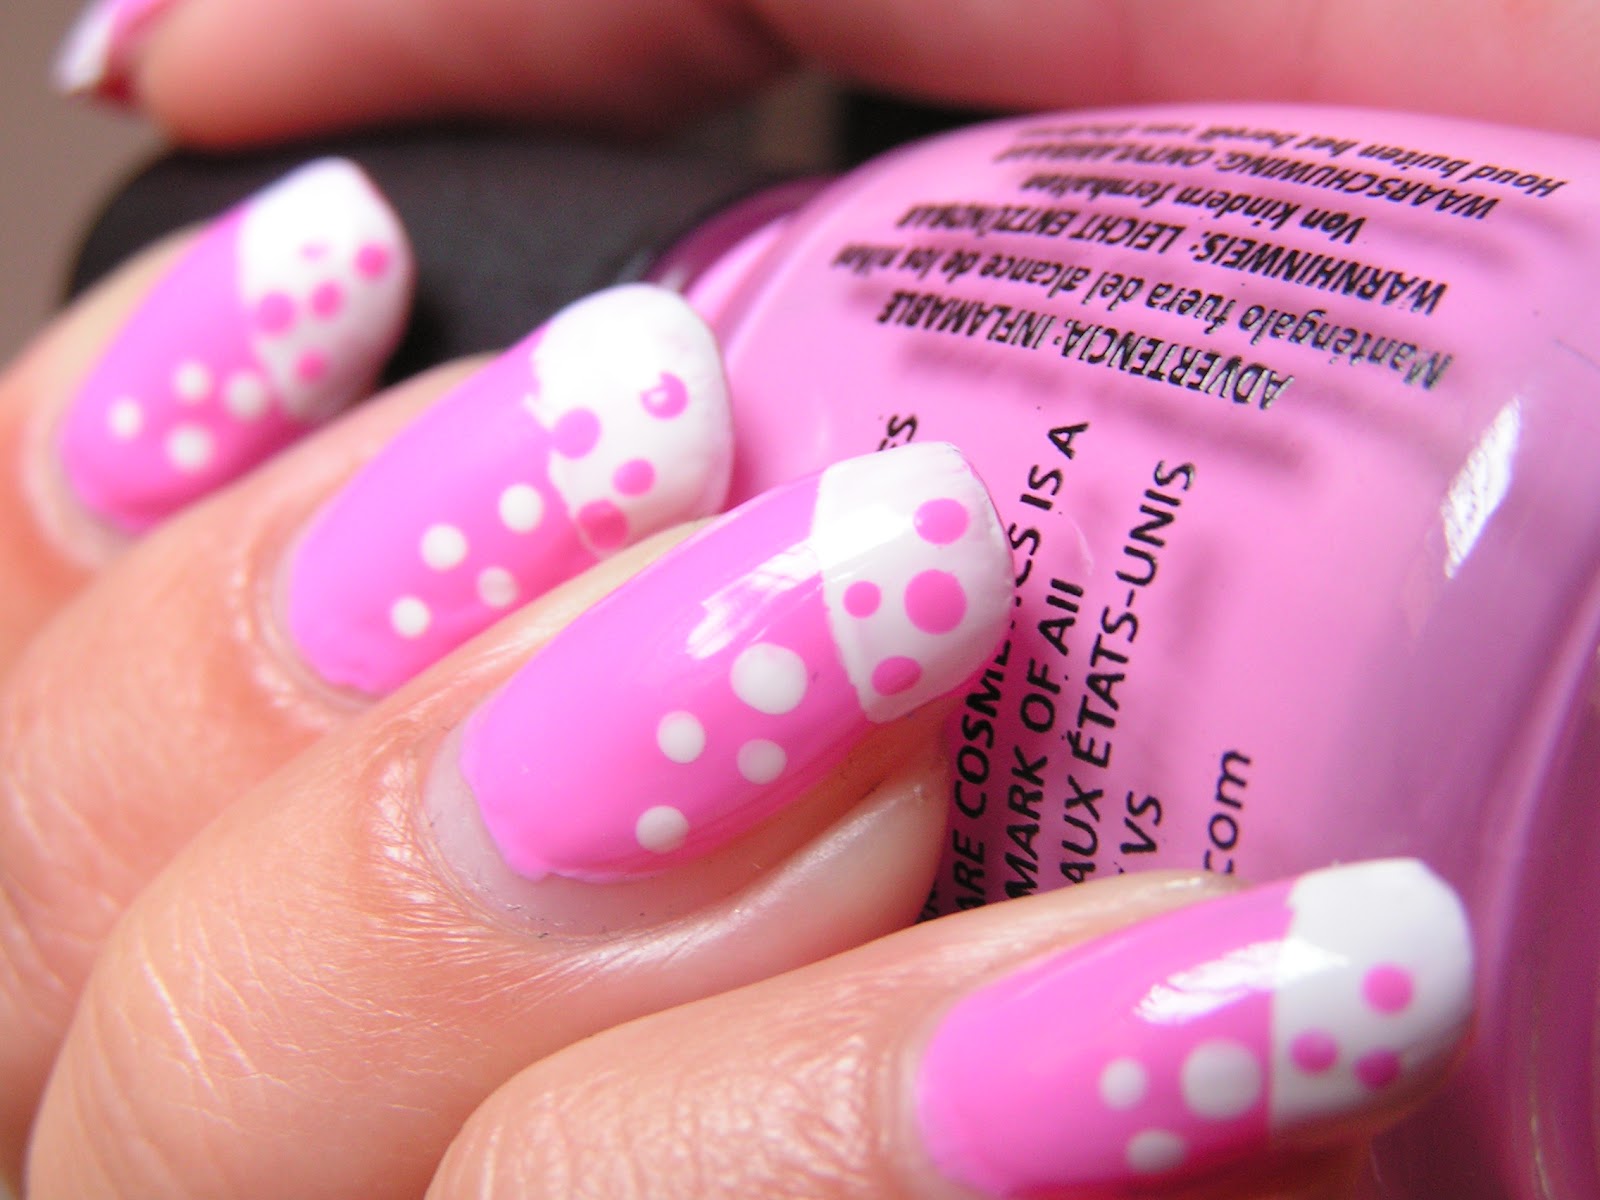
Punched French

Today's mani is a design I shamelessly copied from a pic in Pinterest. Remember you can follow me there, too! I tried to track the person/blog originally behind this design, but in vain. If it's you or someone you know, please leave a comment!!
Somehow this design reminds me of punched white sheets of paper on a pink background.
For long I've been searching for THE pastel baby pink polish, I thought it was China Glaze Dance Baby from the Electropop collection. Well, it wasn't. This took three coats, plus some bad words. There was a lot of dragging, pooling, patchiness and whatnot. And the colour is not the pastel I hoped for... So the hunt continues...
I started freehanding the french tips Wild and Crazy Montana, but after two wobbly ones decided to go for scotch tape after all. I used a dotting tool (two different sizes) for the dots in the aforementioned colours. Some Seche Vite on the top, and that was that.
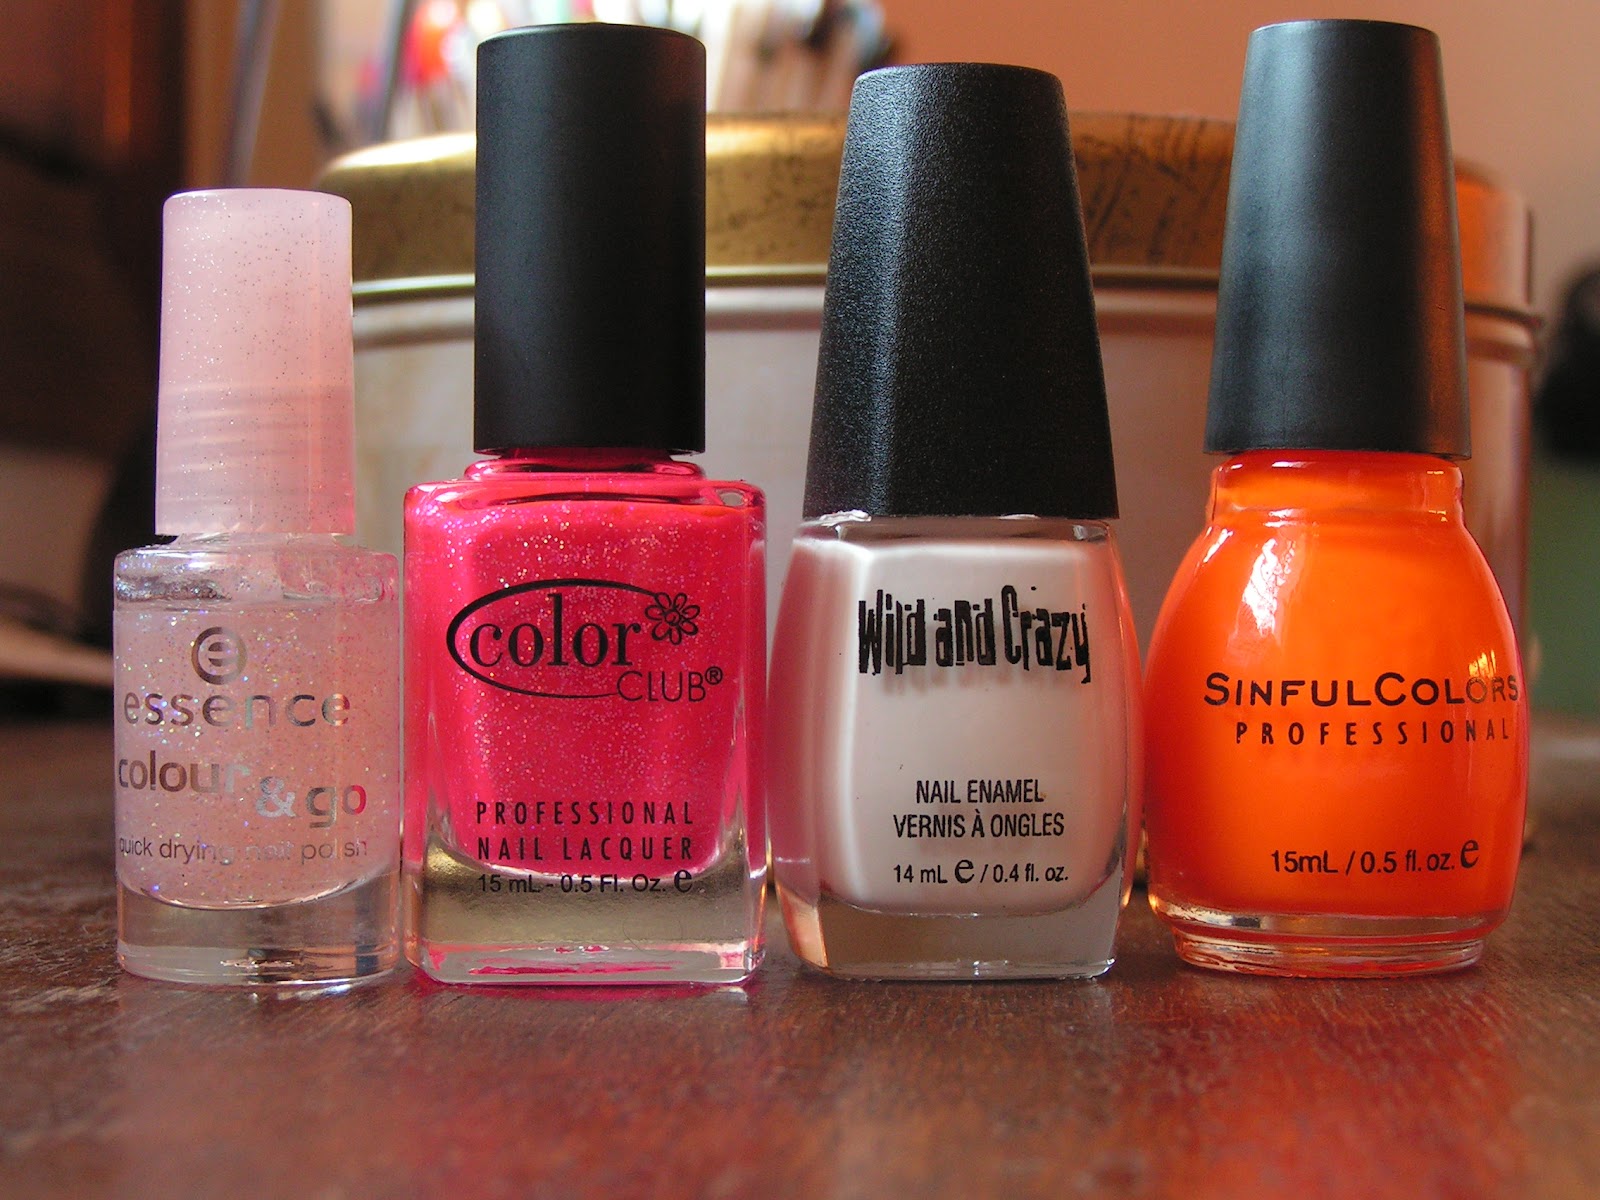
And here are the polishes:
Wild and Crazy Montana
China Glaze Dance Baby

Monday, March 26, 2012

Astral Butterfly

This is a happy neon mani I made, just for fun! Isn't that how nail art should always be?
This post is dedicated to the dazzling and dainty C at certain classes I take. She complimented this colour recently, and I could imagine her wearing this, too. She always manages to make me laugh, no matter how surly I am, no matter how little clue do I have about what she is up to. If you know the type, you'll agree everyone should have at least one in their vicinity.
The base is two coats of Color Club Ultra-Astral, my new favourite pink. I eBayed it recently and from the moment I opened the package I've been regretting I didn't get the whole Starry Temptress collection.
Something was still missing after those two coats, and I remembered seeing all the Starry Temptress collection polishes swatched with the matching top coat. That one I didn't have, but I added a coat of Essence Colour&Go Space Queen, which gives quite a similar effect.
Lastly, I added a butterfly fimo from a chinese store and some dots with Wild and Crazy Montana and Sinful Colors Summer Peach. I almost got the right colours in this pic - propably because of the white polish I'm holding. I'll keep that in mind... And here are the other polishes.
That's it. Tomorrow I'll be back with more manis for the Girly Girl challenge - as if this wasn't girly, too.

Saturday, February 11, 2012

New York and Some Dots

All marketing departments please note - put a pic of New York City in a product, and you've sold one - for me. New York is my absolute favourite city on earth - all the people, life, tastes, feelings, memories, experiences... the ultimate freedom and the "everything goes".  I didn't initially really want this polish, but decided to take the 3 euro plunge just for the name and pic in the bottle: Say hello to Catrice New York!
The base is two to three coats of NY. I was a bit thick at first, but after seven (!) drops of thinner applied well. And I love the colour! It's just the right shade of blue/gray, that keeps you wanting for more.. Just like the Big Apple.
For the deco I used three polishes I recently sourced from a 3 for 2 -basket. Essence has been winding down it's Multidimension -line of polishes for quite some time now, so if you need one of those/these, hurry.
These dots and the flower in the accent nail are made with Essence Multidimension Tryin to be Cool, (darkest) Replay (China Glaze For Audrey dupe!!) and Fall for Me (the light blue one).
I painted the flower with my Roubloff nail art brush and -obviously- used a dotting tool for the dots.
After using the three Essence polishes the flower nail looked it could use something extra, so I added a few silvery lines with Essence Colour&go Can't Cheat on Me. Somehow, it still looked too plain.
So I picked up the anti-plainness remedy no 1: glitter. One coat of Wild and Crazy Super Star made the difference!
And here are the polishes!
Remember to participate my guessing game and mini giveaway! The nearest guess is still quite far away from the truth...

Sunday, January 22, 2012

Minaj My Way

As you "might" know, OPI recently released the Nicki Minaj collection. Well, I wasn't too inspired by the colours, but after reading about the collection a gazillion times I just had to find out who this girl is. So I went to Youtube, typed "Super Bass" into the search field and BOOM BADOOM was instantly inspired to do some nail art.
This mani is dedicated to the neon pink/white one-piece she is wearing in the beginning of the video. The outfit (and the girl inside it) is so outrageously cool that I spent a few moments gathering my jaw from the floor. Watch the vid here if you don't believe me! (And yes, it's tawdry just like me...)
My pick for the neon pink polish was, as so often, Sinful Colors Cream Pink. If you're looking for great value, look no further: for under 2 dollars (depends on where you buy, OFC) you get a true neon pink polish that applies smoothly and is even good for stamping.
I used three coats of Wild and Crazy Montana and painted the ring fingers with one coat of CP after that. Stamping was made with BM 215, CP and Konad special white.
Sadly, I didn't have anythig neon yellow to put on my nails (as seen in the accessories of miss Minaj's outfit), so I had to resort to some neon green stars. The only positive thing about the colour in these pics is, that the green stars look like they were yellow! Otherwise, these pics don't show the real bright neon shine this mani has. If anyone has tips for photographing neon nails, please share!
But why all these pics?? Because I LOOOOOVE this mani, that's why! I would have wanted to paint my nails -or anyone's nails- again today, but I didn't want to take this off. Where have all my nail buddies gone? All my little bottles are now in perfect order just waiting for you...

Monday, December 19, 2011

Day 28: Inspired by a Flag

For quite some time I was completely lost with this challenge, to be inspired by a flag. How to pick a single flag out of those hundreds out there? To choose the most beautiful one? To think of a country that needs support? To choose a country I love the most would at least have been impossible - I've seen enough of them to know that every single one of them has its pros and cons.

Finally, the push came from thinking flags together with Christmas, and seeing this Christmas lights manicure at Rin's nail files. I know it's been done before and after her, but hers was the one I saw first. What was the most colourful decoration of our Christmas trees before someone came to think of coloured lights? Well, the world flags on a ribbon, of course!! (Didn't know that? Well, now you do!)
Athough most of the Christmas lights manis I've seen are on a nude base, I felt I needed a painted yet subtle base, so I chose Color Club Boho Mojo. It's a dirty brownish grey frost, but was surprisingly pretty on the nail. (Sorry about this pic beforehand, I seriously need infills done before Christmas)
I wish I had a green glitter or shimmer to do the tips with, but I didn't. So I decided to resort to Color Club Nouveau Vintage, which has some greenness in it.
 After painting the v-tips, I topped the base off with a coat of Wild and Crazy Twinkle Beat.
I actually liked the base a lot, and wore it on its own for a day or two. For the actual flags I took out my brand new acrylic paints. They were bought from a Chinese store for about three euros, so I didn't have very high hopes for their performance, but I ended out having nothing bad to say about them.
Intead of choosing carefully which flags to paint, I just painted along the flags that came into my mind. I'm quite happy with the result, as I did not paint the flags on my right hand. Working with the acrylics was super easy compared to polish, and I'll definitely be using my little tubes a lot more! 
At the end I noticed, I had painted only countries I've visited, and only European countries. (Well, there's Turkey which is only partly on our side, but still..) That's today's curious psychology for you!


Sunday, November 27, 2011

Day 19: Galaxy Nails

This was a challenge I was really looking forward to. Sponging is by far my favourite technique, and from all the galaxy nail tutos I've seen, I knew I'd be using it.
I got my inspiration from Through the Wormhole's Intergalactic nails and I also owe a great deal to the Galaxy Nails video tutorial by the lovely Hayley from Here Comes the Sun. Do as I did and go to show them some blog love!
That said, I didn't follow any specific instructions from the begining to the end. I started out with dark black-blue base, Essence Urban Messages Nightline, which I've used before in my Blue Moon mani. I just have to show it to you again, because this time I caught it in a few pics with flash, and boy do I love the blue shimmer in it!
Then I just kept sponging on different colours, mainly Orly Space Cadet and Halley's Comet. I some phase I went over the whole nail with a glitter polish. In the end I added dots and small crosses as the stars, using a nail art brush and Gosh Silver.
I did a some kind of a nebula on my ring fingers, on both sides. I sponged some white in a spiral shape, and then went over it with a pearlescent polish. I went along the outlines of the spiral with Halley's comet and added some red shimmer, and that was it.
And here are the polishes: Orly Pearl Wisdom, Halley's Comet and Space Cadet (Well I had to include THOSE?!), Wild and Crazy Montana and Super Star, Gosh Silver, China Glaze Ahoy, Essence Urban Messages Skyline and Essence Glitter Topcoat. That's it!

Monday, November 7, 2011

Day 15: Delicate Print

Today's challenge was delicate print. Maybe I could have been more creative than just to stamp on something delicate. Or maybe I could relax a bit and not to demand I should surpass myself every time.
First I freehanded a french using Wild and Crazy Montana, and painted over it with Sinful Colors Frozen Pink. I think I did two layers. With "natural look" french mani I like to put the white under the pink to soften the line of the white polish. With this polish it worked quite well, I think, because the shimmer in Frozen Pink amplifies the effect even more.
Stamping was made with BM219 and Konad black special polish. And promptly smudged by a topcoat - I think I was using Mavala One Minute quick finish at that time. I'm so happy I went for Seche Vite!
It might be nerdy, but I keep the blue or clear protective film on the stamping plates until I've used them. That helps me to grab a plate I've never used before and forces me to figure out what to do with it. And, I can tell you, the film is still on on many of my french tip plates. Stamping a french is just so annoying with curvy, oval shaped nails I have! Maybe I'll try stamping them diagonally next time...