Showing posts with label french. Show all posts

Saturday, March 28, 2015

Sea Breeze, Winter Mint and Classic reds

Here's a neglected post of a neglected polish: I had this polish in my untrieds for at least a year, and this manicure photographed for at least another year. But here it comes now!!
 The base polish to all nails is Attitude Sea Breeze, which is a perfect pastel creme! It applied like butter, no bald spots..
 On middle and ring fingers I added two coats of Revlon parfumerie Winter Mint
I loved the scent – it was so hard to resist licking the nails!!
Did you know you can freshen up the scent of the polish by painting on a layer of top coat? I didn't!

The result was pretty, but still a bit bumpy after two thick coats of Seche Vite.
I added french tips with Revlon's Revlon Red and China Glaze Ruby Pumps.
And as an accent, a teardrop with Revlon Red using the wax paper technique.
(Basically you just paint a few coats of polish on a wax paper/cooking sheet, let it dry, and cut it as you wish)
Why a teardrop? No idea... Maybe I could promote donating blood with these :D

Tuesday, May 21, 2013

TPC 1 - Funky French

What time is it? Tri Polish Challenge time!!!
My three polishes in May are Nyx Girls Perfect Gray, Color Club Sexsea and -a surprise choice- Primark neon blue polish. You know the deal: four manicures using these polishes, posted on the two last tuesdays and thursdays of May.
  My first manicure is a simple but funky french, done on two coats of Perfect Gray.
I recently squared my nails, so I can finally sport the funky french style, which looks odd on my normally long and pointed nails. Some of you might have loved those and think these are a little meh, and some of you might already be sick of my talonted style. I love to hear your views and to be able to express mine: I love my nails either way.
I didn't have any tip guides at hand (they are here.. somewhere...), so I just used some regular tape and painted the french tips first with Sexsea, and when that was completely dry, with the blue polish.
Let's see what others have been up to!

Saturday, February 18, 2012

Toothpick Tips

It's two days left to throw in your guess at my guessing game / mini giveaway here!
Meanwhile I've got some needle (or, rather, toothpick) marbling to show you.
This manicure idea is in no way my own, although I haven't seen this out in the blogging world lately. This was inspired by an ad I saw in a salon I frequent.
This one ows a lot to the tuto made by Liz at Liquid Jelly. Also this manicure by Jacki from Adventures in Acetone was a great source of inspiration.
First I freehanded a french tip using China Glaze White on White. It needed two coats, and if I hadn't known I'll be adding some nail art I would've made it three.
Next I brushed on two coats of Essie My Way - almost the perfect french polish. The perfect one would have just a tad more pink in it.
After adding a coat of SV and letting the base to dry out thoroughly, I put on one more, very thick thick, layer of My Way and dabbed some Essence Colour&Go Rock It Baby! on the very tips.
Then, using a toothpick, I drew some swirly lines, dragging the wet purple polish over the white french and over to the nude base.
On the next day I decided to add some bling by dabbing NfuOh 50 flakies onto the tips. I liked this mani a lot, both without and with flakies. In a few days I faced the familiar dilemma once again: I wanted to paint my nails, but I didn't want to remove my current mani. Does that ever happen to you?
And, as always, here are the polishes I used:
I remember buying the Essie My Way for certain grand festivities last spring, where I needed to wear something classic and neutral. And I remember using some baaad words when, painting my nails at the hairdresser's that morning, I noticed it's so sheer it needs a hundred coats and I don't have my Seche Vite with me. After that, I've only used it for layering and french manis two or three times, so almost all the polish you can see missing from the bottle went onto my nails on that single occasion... A love-hate relationship...

Monday, January 16, 2012

Rainbow in the Winter Sky

This mani is from my vault, actually from my latest trip to the US. I decided to show them to you now, because they are more than well in line with the recent official glitter weeks I've been having in this blog..
This is two coats of Finger Paints Winter Sky, which did glide on smoothly but stained like hell, like you've learned from other blogs..On the Winter Sky on my ring finger I painted a V-shaped french tip with OPI I Eat Mainely Lobster and added one coat of OPI Rainbow Connection. 
I freehanded the french, because I didn't have any scotch tape at hand. When looking back, I could at least have gotten out of bed and at the table to do these. Wobble wobble...Well, there's nothing that can't be masked by a coat of happy glitter!
Back then I sported that pointy style. I miss those days! And at the same time I'm happy with how my nails are just now. It's a shame you can't switch between nail shapes and lenghts at the same pace you can change your polish..

Monday, November 7, 2011

Day 15: Delicate Print

Today's challenge was delicate print. Maybe I could have been more creative than just to stamp on something delicate. Or maybe I could relax a bit and not to demand I should surpass myself every time.
First I freehanded a french using Wild and Crazy Montana, and painted over it with Sinful Colors Frozen Pink. I think I did two layers. With "natural look" french mani I like to put the white under the pink to soften the line of the white polish. With this polish it worked quite well, I think, because the shimmer in Frozen Pink amplifies the effect even more.
Stamping was made with BM219 and Konad black special polish. And promptly smudged by a topcoat - I think I was using Mavala One Minute quick finish at that time. I'm so happy I went for Seche Vite!
It might be nerdy, but I keep the blue or clear protective film on the stamping plates until I've used them. That helps me to grab a plate I've never used before and forces me to figure out what to do with it. And, I can tell you, the film is still on on many of my french tip plates. Stamping a french is just so annoying with curvy, oval shaped nails I have! Maybe I'll try stamping them diagonally next time...

Thursday, November 3, 2011

Day 13: Hello Leopard

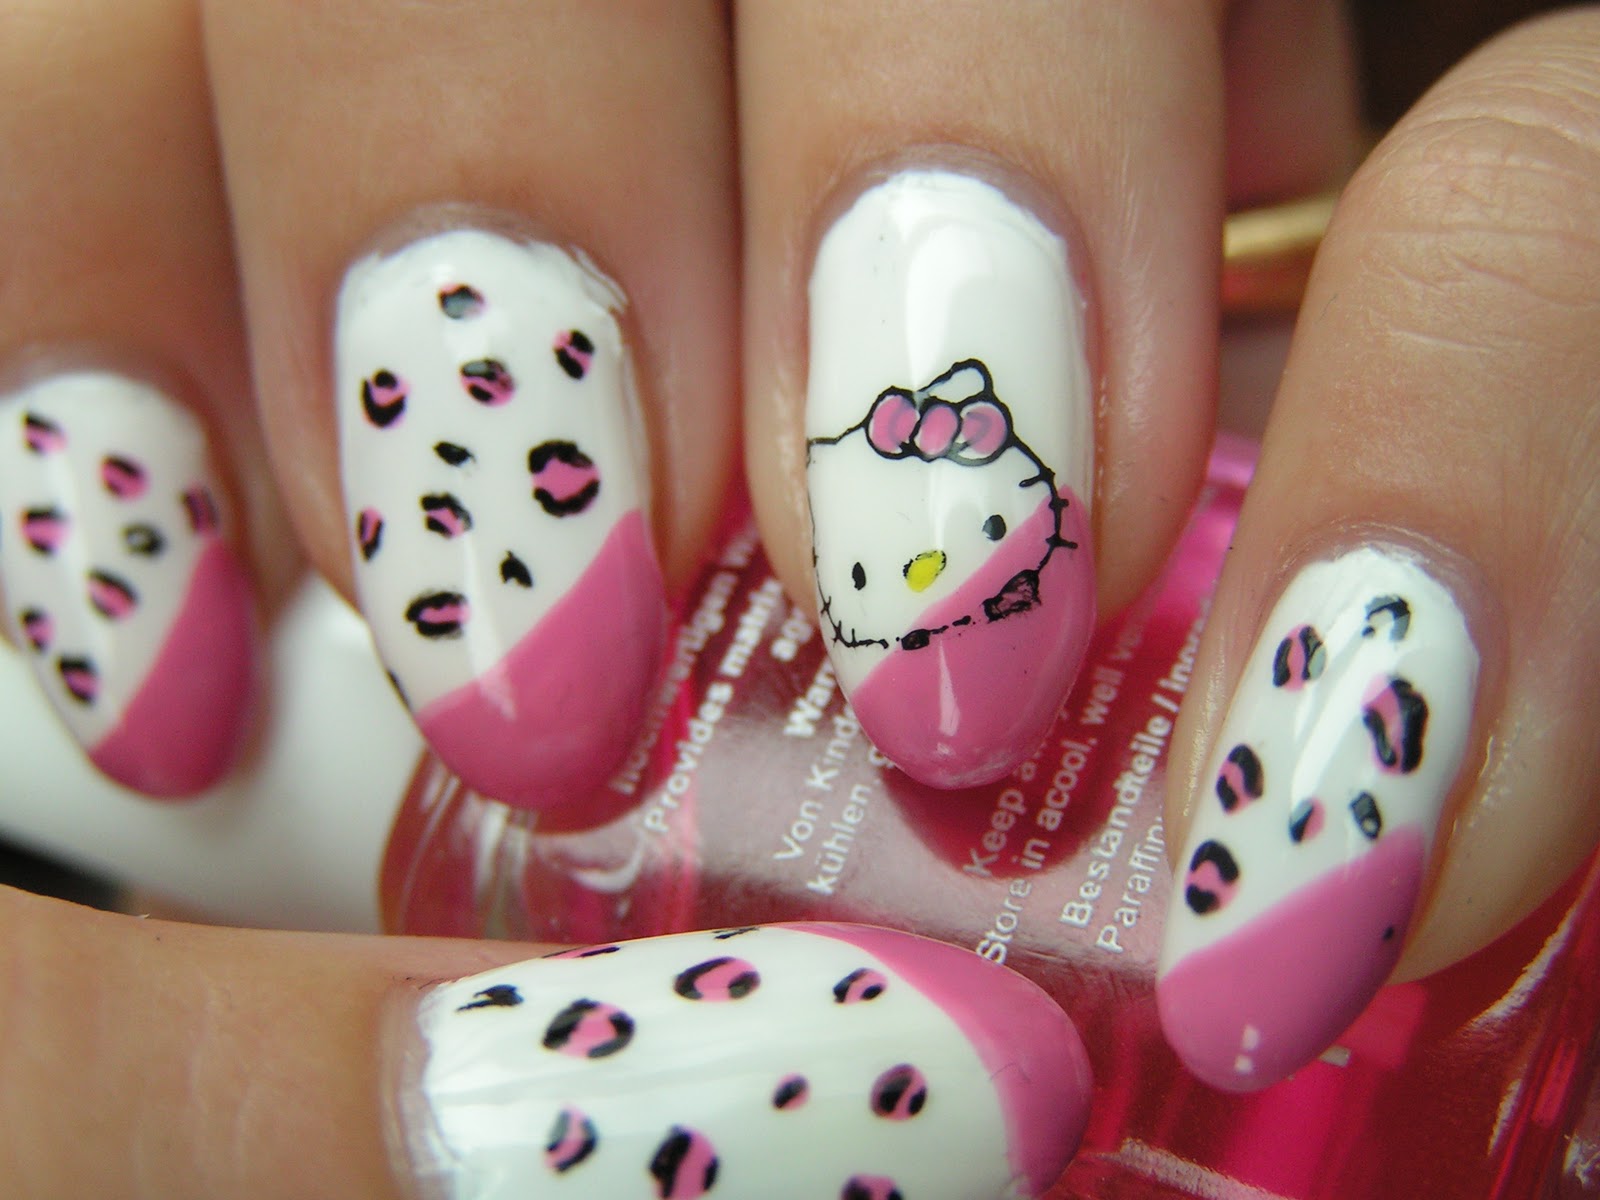
You've probably heard this one before, but I've never been much into Hello Kitty stuff, but... I was out shopping one day and came across trolley bags with the same design as the backpacks here. 
They were just too cute - it's a shame I don't need a new trolley... But I instantly saw the pattern as a manicure, perfec for today's Animal Print challenge.
I started the mani with two to three coats of Wild and Crazy Montana, and then freehanded a curving french with OPI Sparrow me the Drama. Here's a "nice" pre-cleanup post-cuticle oil pic..
 I was out shopping another day, too, (*blushes*) and found some fauxnad stamping sets - including stamper, scraper and one plate - from a local chinese store for 75 cents (that's about a dollar to you US readers). I had to grab at least one, and I went for the m71 with Hello Kitty. I stamped it on my ring fingers with Konad special black polish, and used a dotting tool and SmtD for the bow, and some yellow acrylic paint for the nose.
For the other nails I dabbed random dots with the same pink polish and lined them leopard style with Essence black Nail Art Pen (which has never quite collaborated with me and which had to pass on to the nail art pen heaven after this mani). I'll have to get some Orly Instant Artist liners soon..
 Did I just imagine, or did really I get some odd looks at work with this mani? I wonder... :D

Thursday, October 20, 2011

Day 8: Copper Glitters, Too!

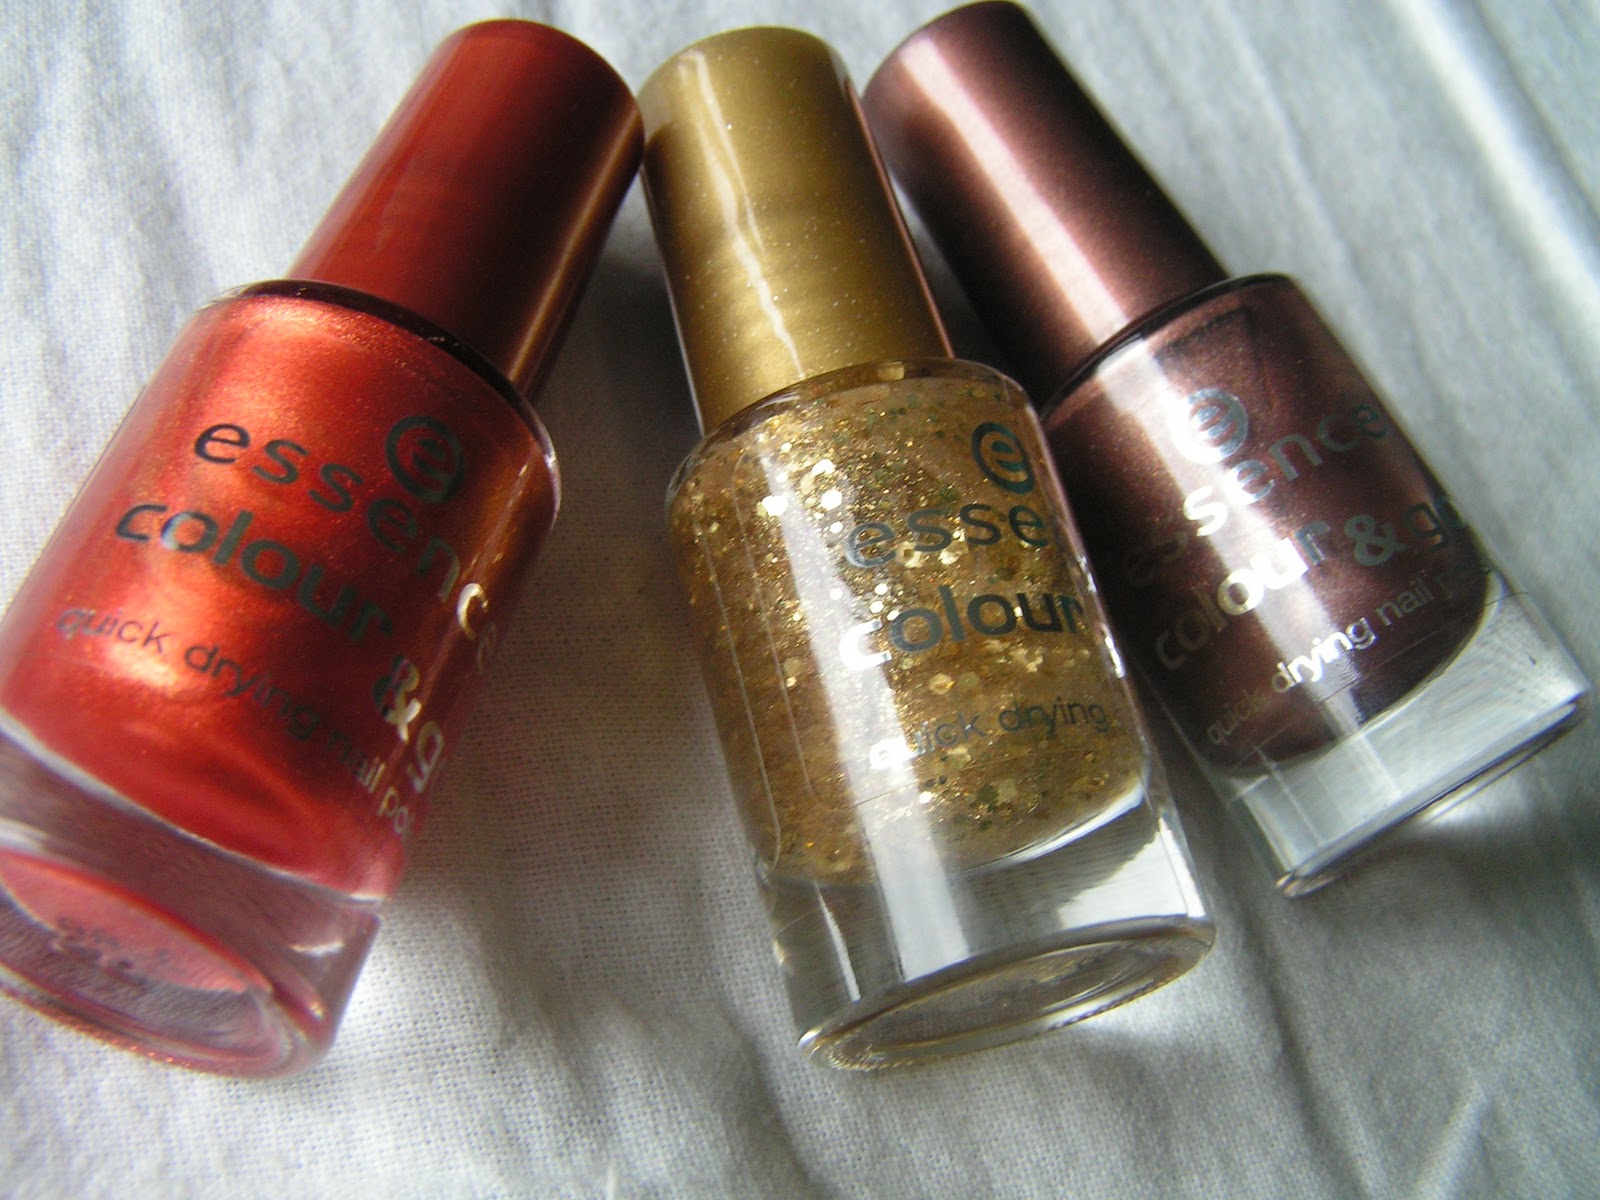
The challenge of Day 8 was metallic nails. I was inspired by some new polishes in the Essence Golour&go line: Just in Case (Brown), Be Optimistic (Copper) and Make it Golden (Gold glitter). All that glitters is not gold - copper glitters, too!
I painted every other nail with Just in Case and Be Optimistic, and freehanded a (wobbly) french with the contrasting colour. The right ring finger was left plain and topped with a coat of Make it Golden. Simple but fun!
I'm quite happy with how the colours play together. They remind me of some copper cooking pots and other kitchen decorations in estilo rustico. Bright copper kettles and warm woolen mittens... eugh.
 And here are the polishes. I really like the new Essence glitters: this golden one, Blue Addicted, and Time for Romance, which is a burgundy shade. They have just the right proportions of fine microglitter and larger hex glitters in a matching jelly base. I can't wait my nails to grow just a little bit longer - I'm planning to do a major blue mani which will look absolutely stunning on long, sharpish nails. Just wait and see. (Warning: Some disappointment may occur.)