Showing posts with label Milani. Show all posts

Wednesday, May 8, 2013

P - Pink-A-Boo

The ABC Challenge is still going strong... Well, maybe not strong (it's been a while since my latest post), but going anyway.
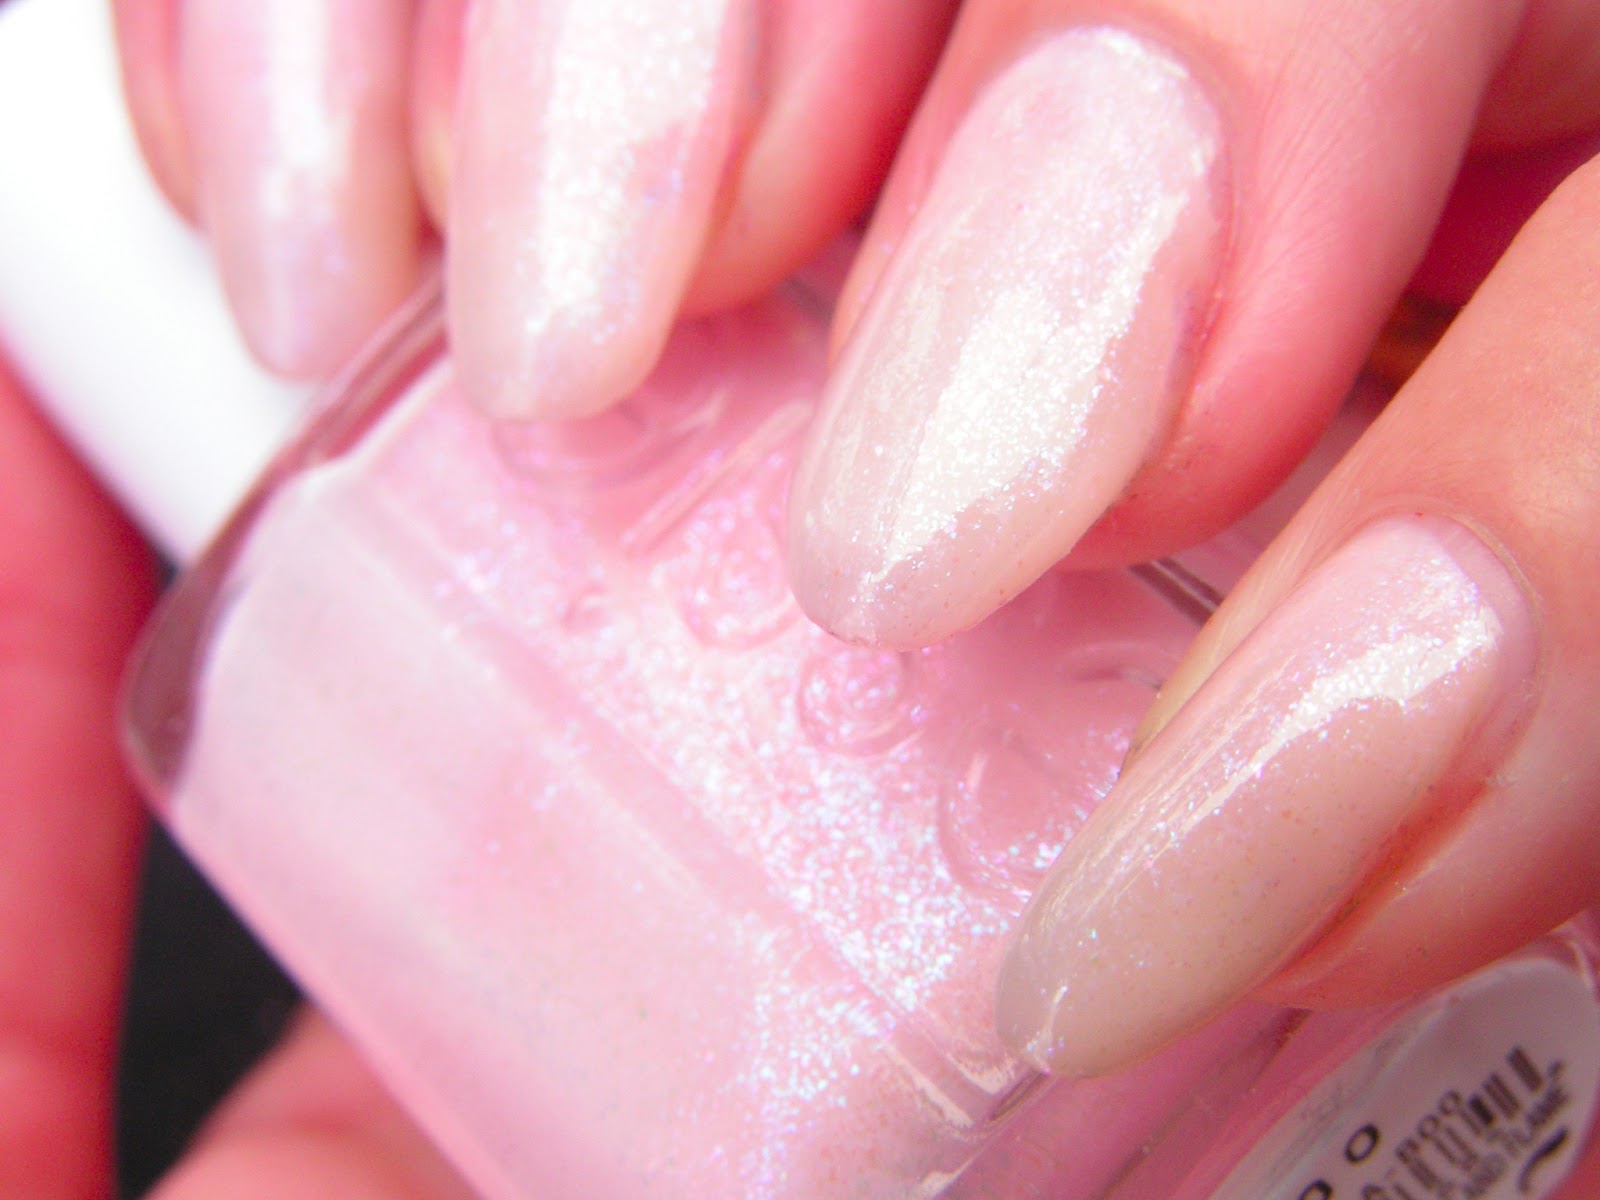
 My P polish is a sweet one with a sweet name from Essie: Pink-A-Boo. A beautiful glass flecked baby pink polish, I knew I'd have to get from the moment I first saw it. How perfect would it be, if it just wasn't this sheer!! (and this pic is with underwear!!)
 This is a mani I wore to the Cosmobelleza beauty event under the gaze of hundreds of beauty enthusiasts – so it had to be perfect. And I was really quite happy with it.
My manicure is two coats of Essie Pink-A-Boo with underwear, which is two coats of Sally Hansen Complete Peachy Keen. I also did two accent fingers, left pinky and right pointer with two coats of Essie She's Picture Perfect.
Next I freehanded a camo using the polish brush and dotting tool for final touches, with NYX Girls Perfect Gray and Catrice Lucky in Lilac.
Left pinky was matified with BeYu Mat Top Coat, and I glued on a silver stud. Left pointer got some striping tape and a sponging of Milani Purple Gleam. Right pinky was coated with a generous dabbing of Yes Love D11, a 75 cent polish from a chinese bazaar. Right pointer got stamping with Gosh Silver and DRK-A -plate. And, at the end, all nails except the matified one got a good coat of Seche Vite.
And here are all the polishes. Phew!! I've never used this many tags in a single post before!

Thursday, May 10, 2012

Interlocking Glitter Skittle

Again a manicure for getting to play with my swatchsicles and getting some polishes out from my untrieds.
The base is two/three coats of Catrice I Wear My Sunglasses at Night. I was a little disappointed with the glitter effect on the nail - or the lack of it. It is much more visible in these pics than IRL, even if you place your nails right under your nose.


I went on to paint interlocking diagonals with (from pinky to thumb, left hand):
Orly Vip
Essence Circus Circus Cotton Candy glitter
Nicole by OPI My Sleigh's in the Shop
Milani Purple Gleam and
China Glaze Skyscraper.
And this is the right thumb:
Milani Silver Dazzle
As always, the greatest fun was organizing my swatchsicles, choosing the colours and just fooling around.
There you can see the ones I chose and also the ones that didn't make it.
The two Milanis were the worst topcoat eaters, propably because they are so dense that the glitter pieces sit on the top of each other. Well, there's nothing that three coats (!) of Seche Vite couldn't handle..
 Generally I loved the most the Nicole by OPI and Milani Silver Dazzle. I'd say it's because they have the clearest contrast with the base. Which brings to me an idea of interlocking mani with contrasting colours.. hmm...
Funny how these glitter polishes remind me of those glitter glues we used to buy before christmas to decorate christmas cards, and which were totally equally useless every time..
I had marvelled at these interlocking manis before in some blogs, and making my own was really quite easy. I used scotch tape to line out a diagonal section for the glitter, and then a dotting tool to make the "interlocking" lines of dots.

By the way... I love saying glitter skittle.. :) Try it!

Thursday, February 9, 2012

Purple Glitter on Purple Glitter

Today's mani is just another random splash of polishes from my untrieds. I begun with two coats of Essence Vampire's Love True Love. It is almost a one-coater, and a lot less black on the nail than in the bottle.
Once again - also to use as many of my untrieds as possible - I did some simple sponging with two purple glitter polishes Milani Purple Gleam and Nicole by OPI My Sleigh's in the Shop.
Here you can really see the coarse surface after sponging. You could grate parmesan cheese with these! (Although you'd get some purple glitter on your pasta, then)
 Here we are with two coats of SV. That's better!
 The purple glitter polishes are quite alike in the bottle, and I feared I'd bought dupes, but applied on the nail (or paper) reveals the pink hues and silver glitter in MSitS (on the left). They definitely are different enough to own them both.
To add some simple and quick decorations, I added a diagonal freehand french with Nicole by OPI Silver Texture crackle. The accent finger got one coat of Milani Jewel FX Silver.
That was it! I don't usually wear much silver, but this mani survived for quite a long time. Which was two days.. :)
Remember to leave your mark in my guessing game / mini giveaway here!


Monday, December 26, 2011

Day 30: Inspired by a Tutorial

This post contains a whole lot of my family's Christmas nails, so be prepared for a pic-heavy post!

These nails were not strictly speaking inspired by a tutorial, but a great nail blog I found just recently: Rin's nail files. She had the theme "25 days of Christmas", with a daily mani idea, each with perfect how to's so you could almost consider them tutorials.
After that sneak peek to my own Christmas nails, let's take a look at reindeer nails I made for N:
For the first time in this blog you see a photoshopped pic. Poor N's cuticles looked so frightening in a close-up, I had to edit them with one eye closed... But the reindeer really melts anyones heart! You can take a look at Rin's reindeers here!
And then to the colours I used:
All fingers except the accent nail had two to three coats of China Glaze Ruby Pumps. The base of the reindeer fingers was two coats of Revlon Frankly Scarlet, The reindeer itself was painted with OPI A-Taupe the Space Needle, antlers and details with A-taupe mixed with white. Black and white polishes were both from Mavala. And the reindeer's nose is a big shiny blob of Ruby Pumps - what else!
For T I made nails with a snowy landscape:
These were really simple to make with a nail art pen. In small details like this I really prefer pens to brushes of any kind. Rin's landscape can be found in this link.
I love the look of Russian Navy Suede with a topcoat. It really is a unique shimmer: very wintery!
And then the polishes:
Base: OPI Russian Navy Suede, glitter near the cuticle OPI Last Friday Night, some additional larger glitter from Milani Jewel FX Silver. Details with Essence Nail Art Pen in Silver White
My own Christmas nails were made and pictured in a slight hurry, but I actually liked them a lot. I let T and N choose the theme, and they demanded Christmas tree nails, so here we go:
The base was a combination of various polishes, which made it lively and sparkly. And the glitters I used for the garland striping behaved surprisingly well. This mani is not directly inspired by any specific design, but I wanted to include in this post all of our Christmas nails.
The polishes used were:
two coats of China Glaze Cha Cha Cha
a coat of Sinful Colors Treasure Island
a coat of NfuOh 39
stripes with Sally Hansen Gem Crush Lady Luck and Essence Colour&go Make It Golden
I hope you are not yet too sick of Christmas - there is still one Christmas mani coming up. That'll be the last one, and that's a promise!